
The question of whether or not to have lawn edging at all was a source of some debate between myself and Mrs H - but now we're both definitely firm converts to both the aesthetic and practical benefits.
We have beds that drop from the lawn, so the style we wanted was the type that, when looking from the lawn side, no edging is visible (if you like it's the lawn edging equivalent of an "infinity pool"). The product we chose was Smartedge Black Lawn Edging and the following brief blog describes how this novice fitted it and shows the result (including how the bed and edging have matured).
We'd been creating beds from scratch and the first bed I did was in the same year that we'd created them (hence why the planting looks a little sparse). The picture below is of the first bit of edging I tackled - as you can see there was the potential for a nice smooth curve but it was all a bit scruffy.
 As I understand it, the Everedge metal edging we sell on Greenfingers.com can cope with curves quite well, but as we have so many curved beds I opted for the Smartedege solution.
The work of putting it in was really not too bad - but as this was my first attempt there was a bit of a learning curve involved (I've done a lot more since). The main thing I'd say is to not be too shy about digging out a decent "trench" to put the edging in. If you discover you haven't dug deep enough after you start to place the unwieldy "snake"of edging in then it can be a real faff - so take the time to ensure you dig deep enough and clear any stones or roots before starting to put the edging in. [That's my faithful assistant Tessa in the top pic!]


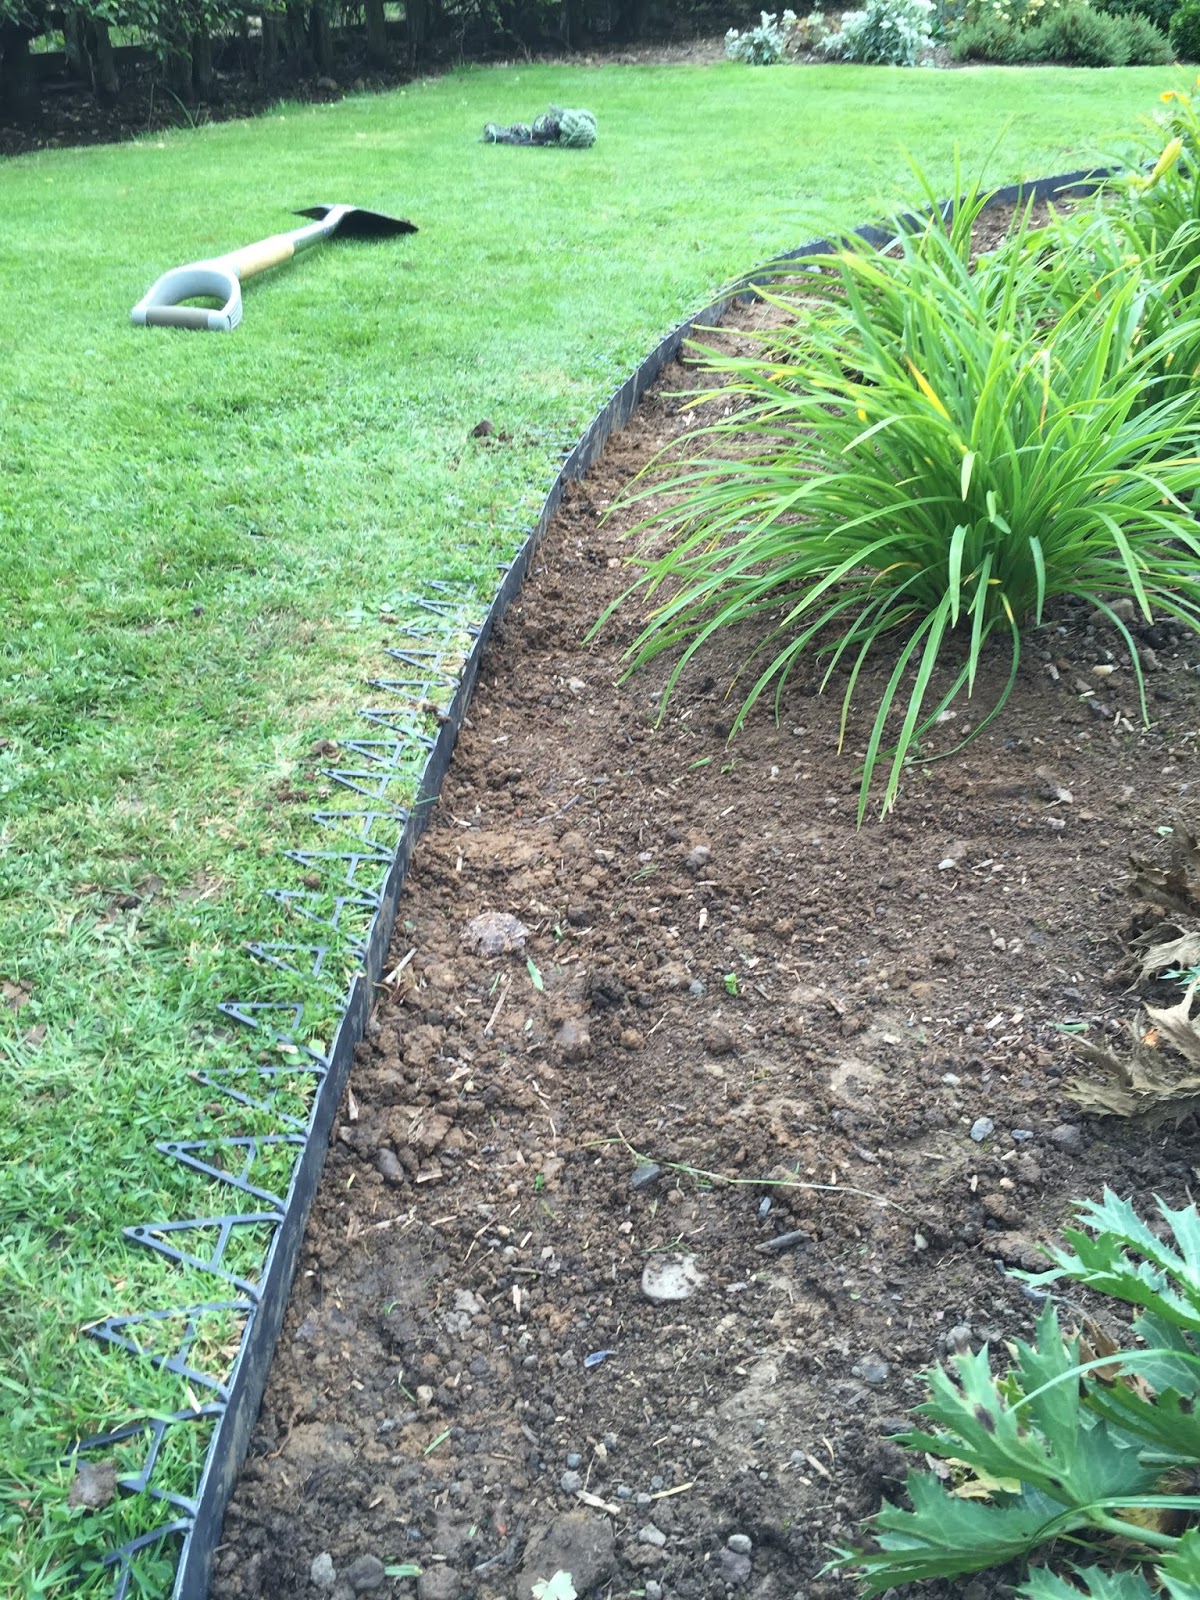
Note how I've bent the triangle pieces back in preparation for slotting the edging in but *top tip* make sure you don't bend them back past 90o or then the triangle point won't dig into the turf as neatly. If the prep work has been well done, the process of then laying the edging in and stomping back the soil is very straightforward (and hugely satisfying!).
 The last task is then to pin down the triangular grippers with the plastic pegs provided - I found they were easiest to push in by hand while wearing leather gloves (or using a flat stone to press them in) as the pegs easily buckle if you use a mallet.
 This is the point where if you've bent the triangles too far back then you find yourself having to pin more frequently - you certainly shouldn't need to pin every one (which is handy if you hit the odd stony patch).
So this was how the edging looked immediately after being put in - you can see already what an improvement it is.
 Mrs H was worried that inititally the plastic looked a bit too stark in appearance - but we quickly realised that after a rain shower or two it gets muddied up and blends in really nicely. Of course grass quickly grows through the triangle sections and after a few months you wouldn't know they're there.
The close up picture below (taken less than a few months after the edging was fitted) shows how the edging naturally gets muddied - and note that the pinned triangles are no longer visible


We have beds that drop from the lawn, so the style we wanted was the type that, when looking from the lawn side, no edging is visible (if you like it's the lawn edging equivalent of an "infinity pool"). The product we chose was Smartedge Black Lawn Edging and the following brief blog describes how this novice fitted it and shows the result (including how the bed and edging have matured).
We'd been creating beds from scratch and the first bed I did was in the same year that we'd created them (hence why the planting looks a little sparse). The picture below is of the first bit of edging I tackled - as you can see there was the potential for a nice smooth curve but it was all a bit scruffy.

The work of putting it in was really not too bad - but as this was my first attempt there was a bit of a learning curve involved (I've done a lot more since). The main thing I'd say is to not be too shy about digging out a decent "trench" to put the edging in. If you discover you haven't dug deep enough after you start to place the unwieldy "snake"of edging in then it can be a real faff - so take the time to ensure you dig deep enough and clear any stones or roots before starting to put the edging in. [That's my faithful assistant Tessa in the top pic!]
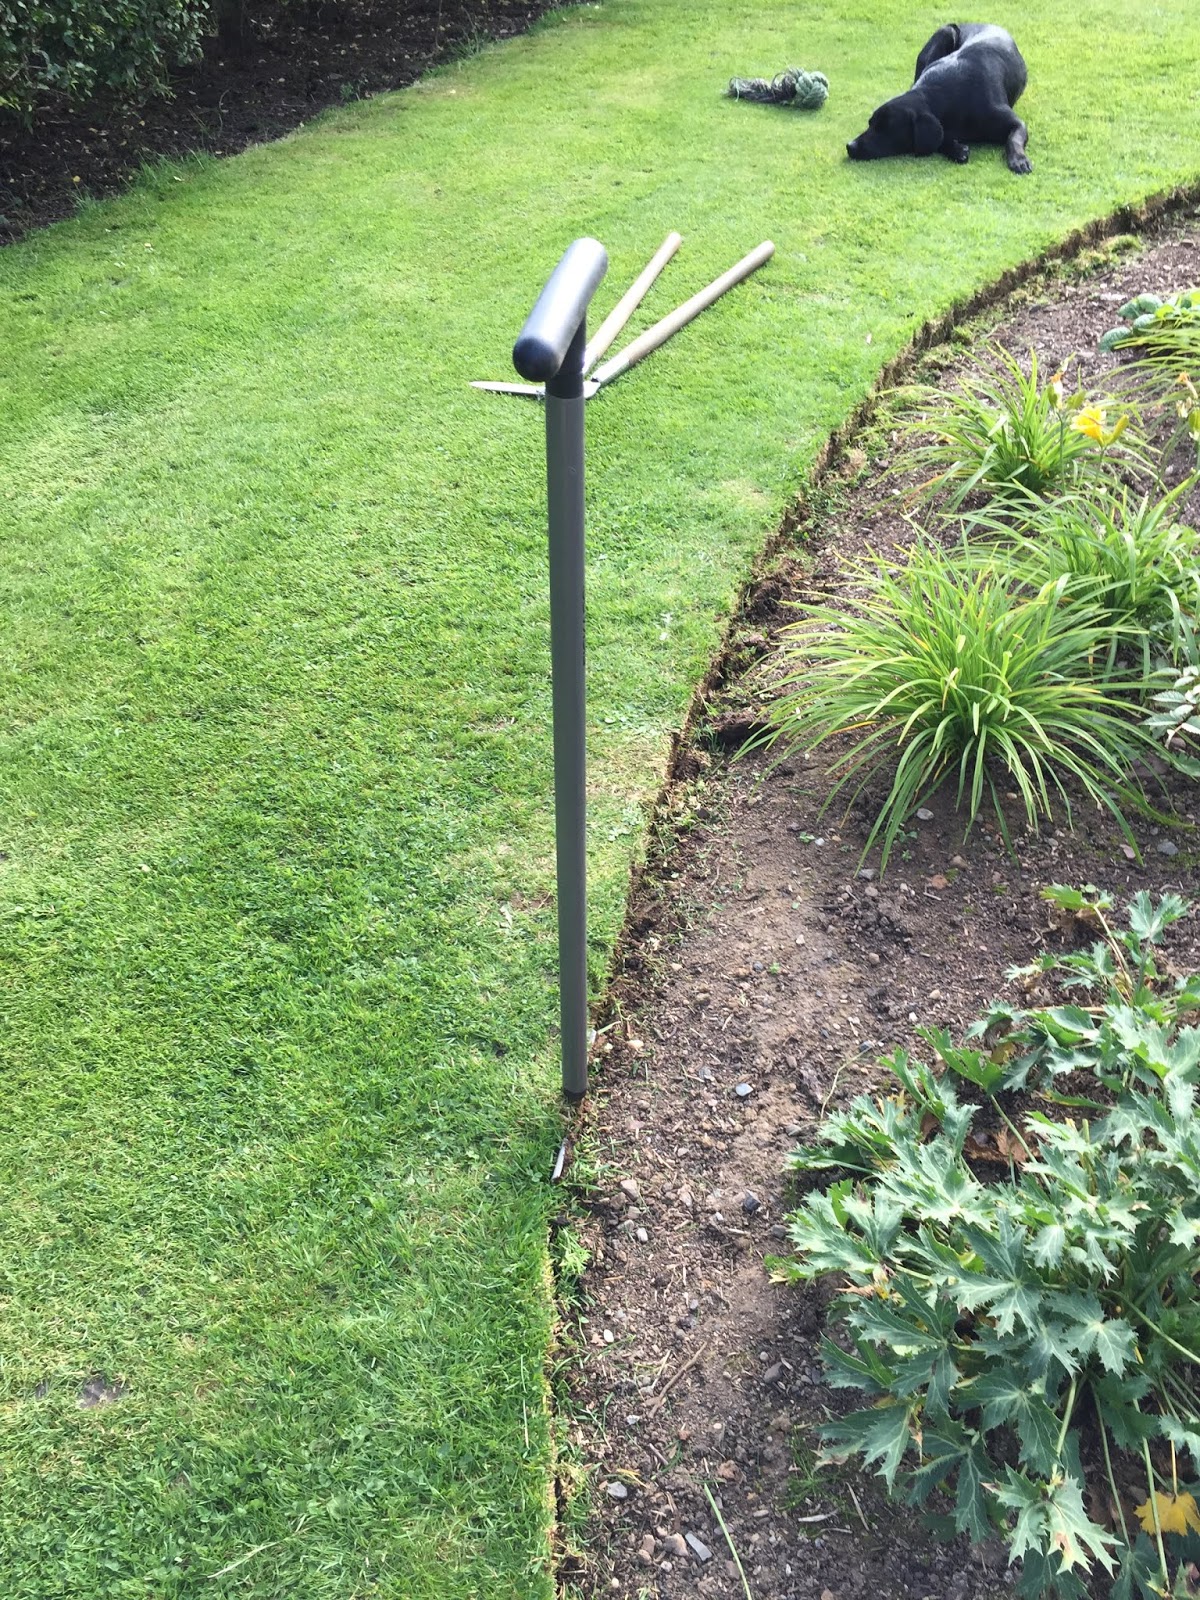

So as you can see, I used an edging spade to create my edge line and dug out my "trench" - the next step was to unroll the length of edging I need and get it in place - it can be a bit unwieldy but I was easily able to do this as a one man job (and cutting to length was simple enough with the aid of a sharp Stanley knife)

Note how I've bent the triangle pieces back in preparation for slotting the edging in but *top tip* make sure you don't bend them back past 90o or then the triangle point won't dig into the turf as neatly. If the prep work has been well done, the process of then laying the edging in and stomping back the soil is very straightforward (and hugely satisfying!).

So this was how the edging looked immediately after being put in - you can see already what an improvement it is.

The close up picture below (taken less than a few months after the edging was fitted) shows how the edging naturally gets muddied - and note that the pinned triangles are no longer visible


The great thing about having this edging in place is that it's really easy to keep the edges neat - before mowing I nip round all of the edges with a pair of edge-trimming shears and because there's such a clean edge to rest the shears against its a doddle. Another *top tip* is to trim weekly, that way the clippings are so short you don't need to pick them up, they quickly dry and blow away!
I've since done other bigger beds and they've all matured in nicely - I hope you'll agree that it really is a very tidy look.


Comments
Post a Comment